This post is also available in:
![]() العربية
العربية

I’ve Got My Website… Now What?
This article is a follow up to the article titled ‘ How Can I Use Social Media’. Sheri Pais guides you further
That’s the primary question that arises after the euphoria that follows the implemenation of a website. It’s all looking good and working well, but then what are the next steps? Let’s find out a little but more on this.
![]()
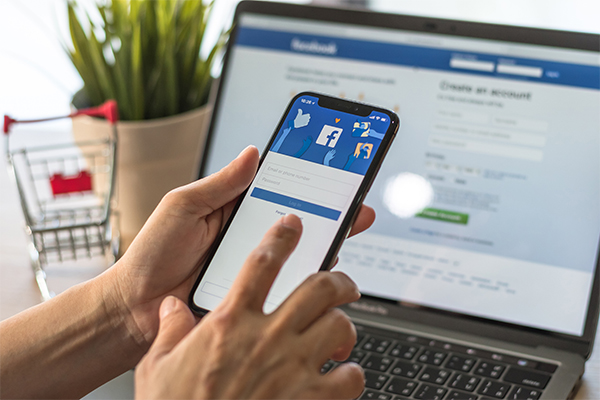
A guide to setting up Facebook Pixel and Web Conversions API
Establishing a website is an important part of setting up an online presence especially as a business owner. Having a well thought out website that is easy to navigate gives your brand an identity that customers can refer to time and time again. Websites act as the central link between the customers and the brand as both parties continue to buy and sell respectively.
However, simply having an existing website is hardly ever enough for your business to get the traction that it needs to make profits. Having a strategy to advertise, keeping tabs of customer behavior on your site and then making changes accordingly all come as part of the online advertising journey.

These tasks can become overbearing if there is no set system in place to help organize all your data to analyze later. Facebook Pixel is one such tool that can assist a brand owner to help optimize their business.
What IS Facebook Pixel and how can we make use of this system?
Facebook Pixel is a piece of code that you as a brand owner can place onto your website, this in turn allows you to monitor actions of customers who visit your website, helping to track ‘conversions’. Conversions are measured by the amount of visitors on your website who end up leaving the site as customers of the products or advertisements that are on the website. In this manner, Facebook Pixel helps to manage the actions that are taken by visitors from your website. Some more features that can be tracked through this system are the depth of how far a visitor has scrolled on the site, the time of which visitors are active, their purchasing behavior and much more.
With the information we have seen so far, the next steps would be to set up Facebook Pixel onto your website. The steps are as follows:
- The first step is to ensure that you have a Business Manager account to begin with on Facebook. Next, head over to ‘Event Manager’. Clicking on “Connect on Data Sources” and selecting “Web”. Finally click on the “Get Started” button to continue.
- Next select “Facebook Pixel” and click on “Connect”. An option to name your pixel shows up, for which you can enter the name that best represents your business. Put in your website URL and click Continue.
There are a number of methods to add the Facebook Pixel code onto your website such as:
- Through Partner Integration
- Working with a Developer
- Manually or Directly to your website.
Web Conversions API
Since we have had a look at Facebook Pixel, another similar tool to help measure the online behavior of customers on your website is the Web Conversion API (Application Programming Interface). This tool helps to build a direct connection between the marketing data of the advertiser and the intricate systems that optimize ad targeting, audience insights and help measure results.
The way this differs from the Facebook Pixels is that while Facebook Pixels is a browser side tool that measures and tracks data through the browser, Web Conversion API on the other hand measures data through the server itself, not having to depend on cookies the way Pixels does.

Let us dive deeper into the Manual Implementation method as the other method of using Partner Integration may be an option that is not available to many. The way to set this up is as follows:
- A factor that helps with this process is if Facebook Pixels is already being used. Head over to the “Event Manager” option once again. Here, choose the Pixel that you wish to use in order to set up the conversion API.
- Select the “Add Events” options and then click on “Using the Conversions API”. Select the option to “Install code manually. After reading the overview , select “Continue”.
- From here, you can choose the events you wish to track. There are also event recommendations that Facebook may suggest in the drop down menu which you as the owner can select if unsure. After doing the necessary selections, click on “Continue”.
- Select the Parameters that you want for each event and click “Continue”. After this, click on the “Confirm Setup” option and then “Send Instructions.”
- Finally, it is time to send the email to the developer to let them complete the rest of the process based on the options of events and parameters that have already been chosen by you in the previous steps.
Overall, there may be reasons to believe that Conversion API acts as a better tool than Pixels due to the lack of restrictions it faces while collecting data, it must be noted that, rather than being compared to one another, it is highly recommended to use both these tools simultaneously side by side.
As a matter of fact, as seen above, the setting up of Facebook Pixel is essential in order to set up Web Conversions API, further proving the need to use these two helpful tools together.